Open topic with navigation
Custom Layers
A custom layer, otherwise known as a condition list layer, is a collection of conditions, each of which can be designed and modified independently of the others.
Creating a Custom Layer
- Go to the Design tab of the Experiment contextual tab set.
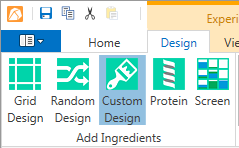
- In the Add Ingredients group, click the Custom Design button.

Custom Design button on Design tab
- Drag your mouse on the Canvas to select the wells where you want to create the layer.
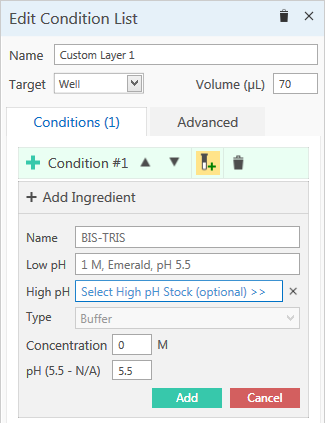
- On the Edit Condition List side panel, select an ingredient type from the Type list.
- Click in the Name box to open the Select Ingredient panel, and select an ingredient.
- Click the plus sign to add another condition. Repeat until all conditions have been added to the layer.

Edit Condition list side panel
Condition list layers can also be created by copying wells from another layer and pasting them into a new location on the canvas.
Changing the Condition Order in a Condition List Layer
Conditions are dispensed in the order they are listed in the Edit Condition List side panel. You can change this ordering by using the up and down arrows above each condition.
To change the ordering of conditions:
- Click a condition on the Edit Condition List side panel.
- Click one of the arrows above the condition to move the selected conditions up or down in the table.
Related Topics


